Migrating from 1Password to KeePass, KeePassXC and KeePassium

In this guide, we use 1Password 7 and KeePassXC. Screenshots are made on macOS, but both applications are available on Windows, macOS and Linux.
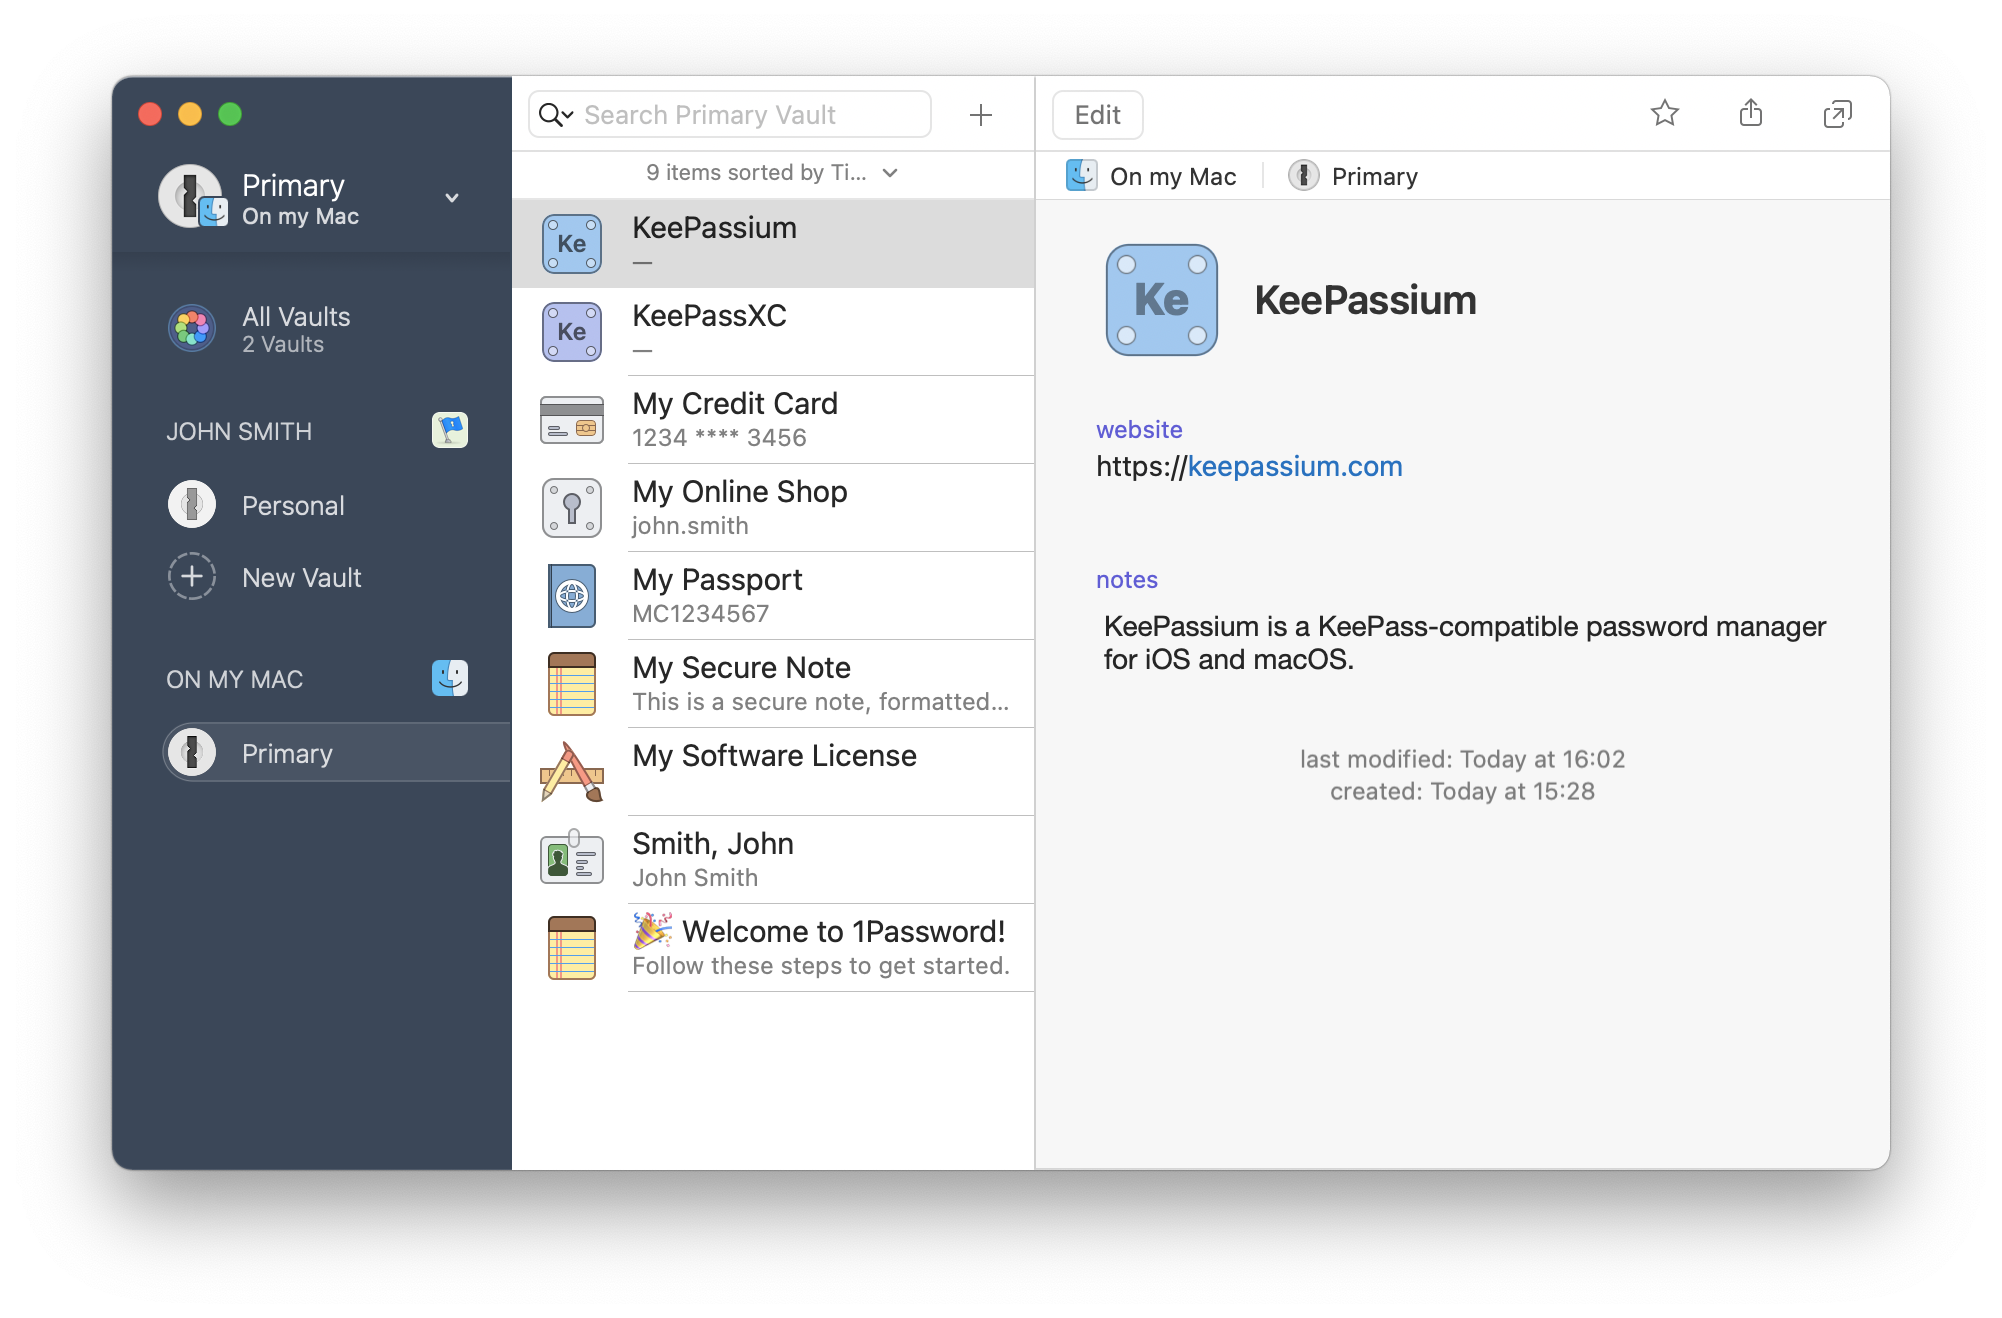
Our starting point is the 1Password vault:
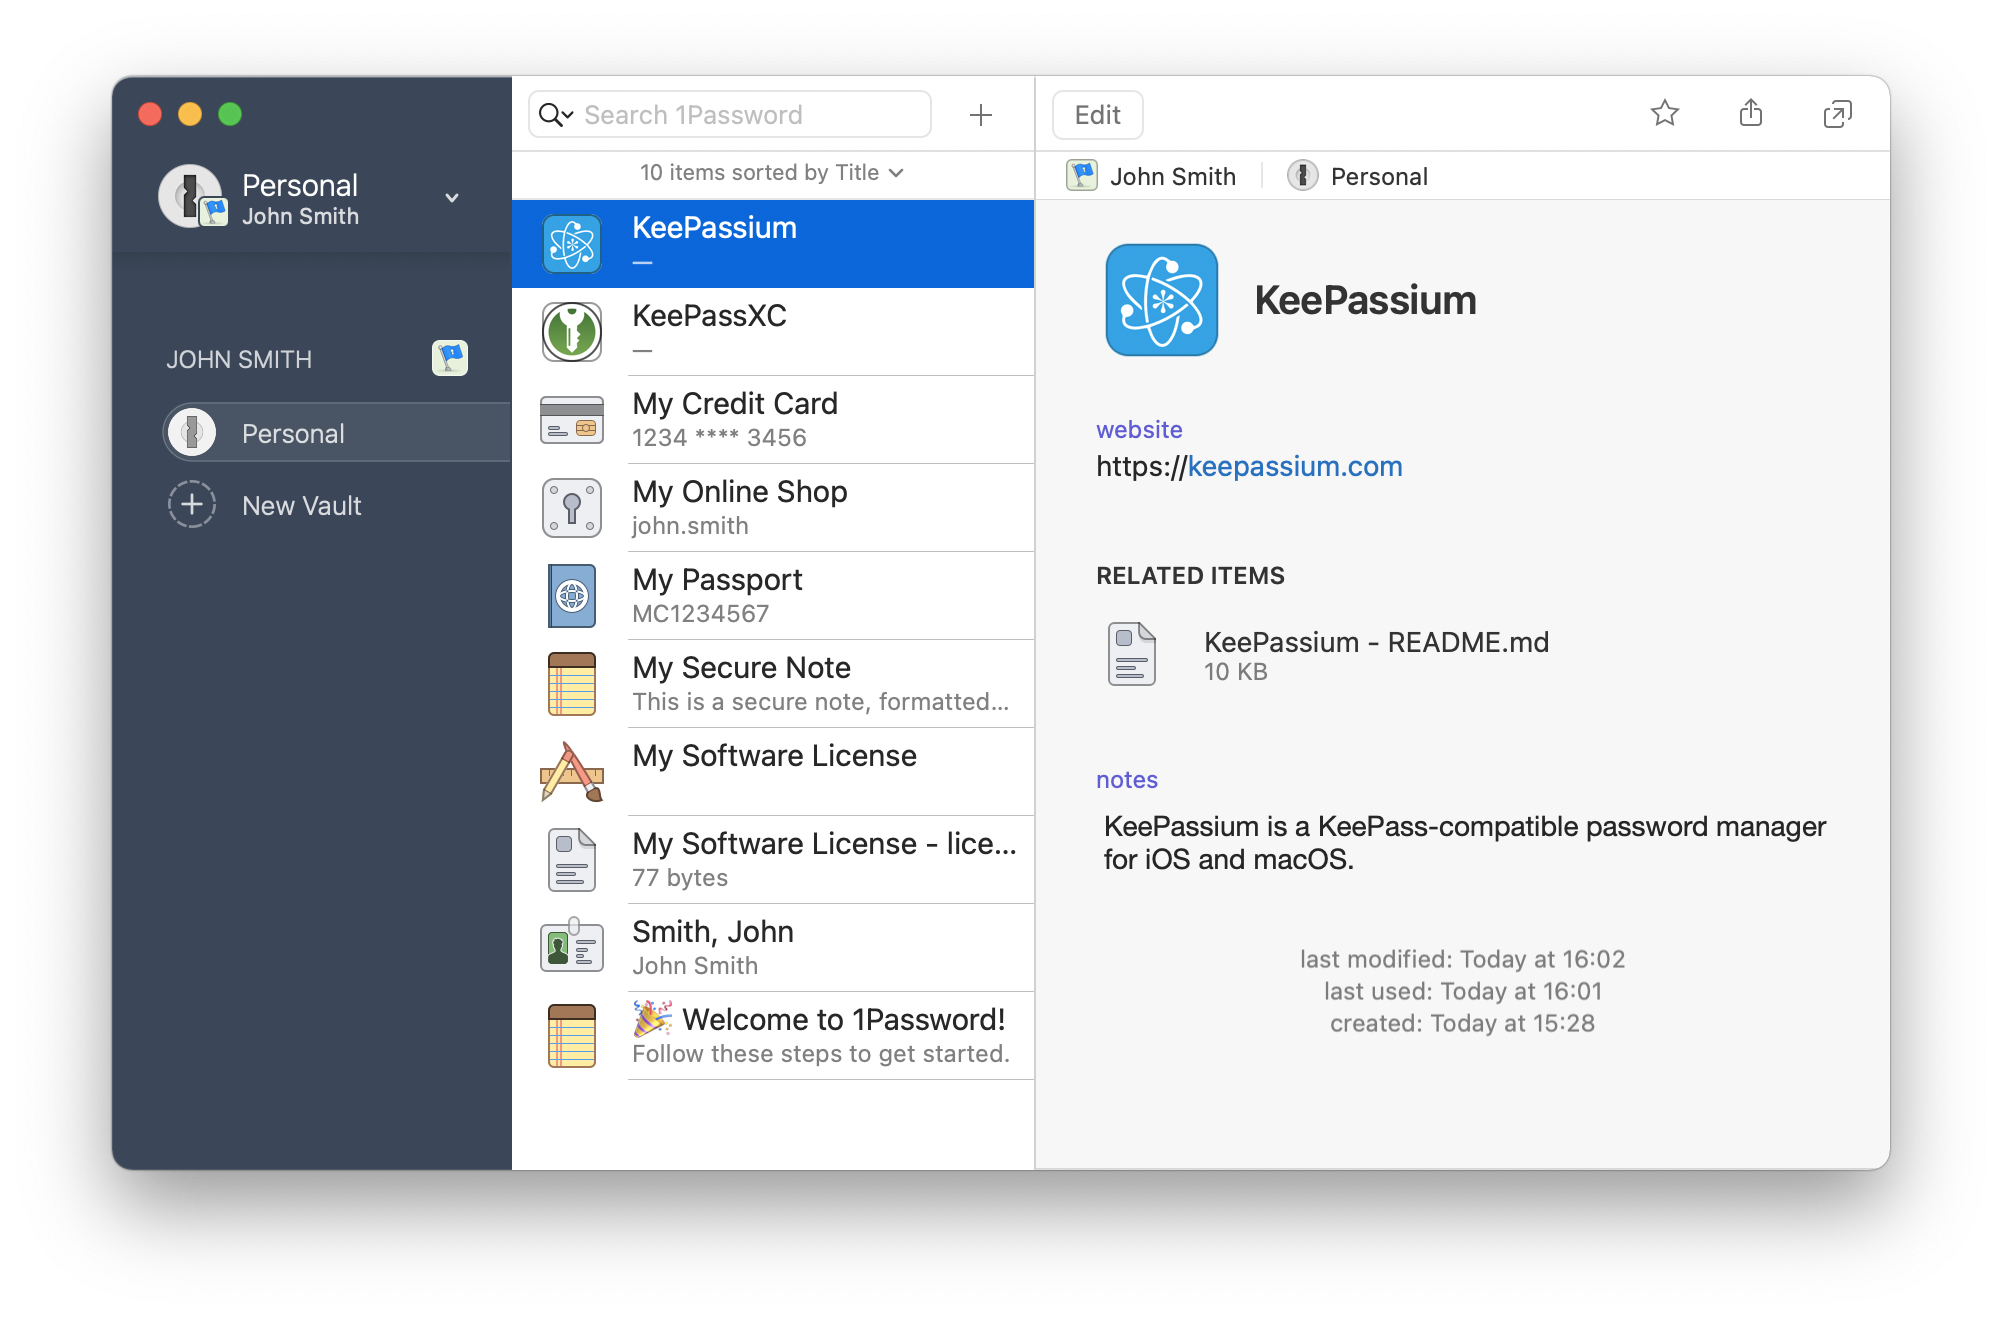
Part 1. Save your online 1Password vault locally
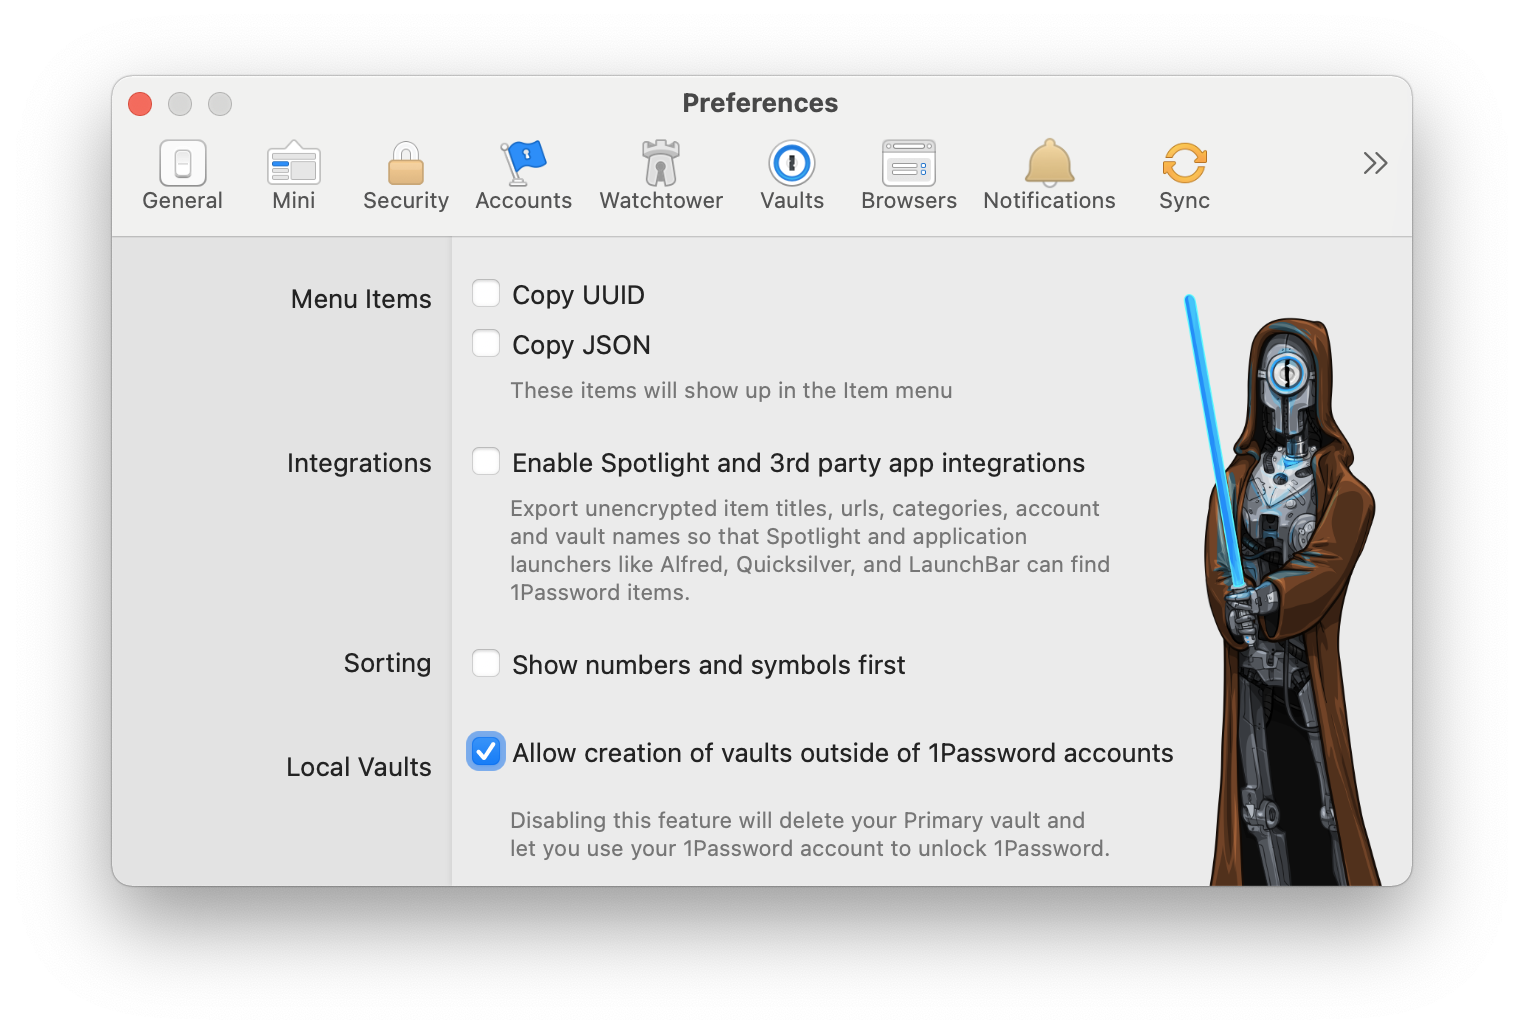
- Open 1Password Preferences and go to the
Advancedtab - Turn on the
Allow creation of vaults outside of 1Password accounts
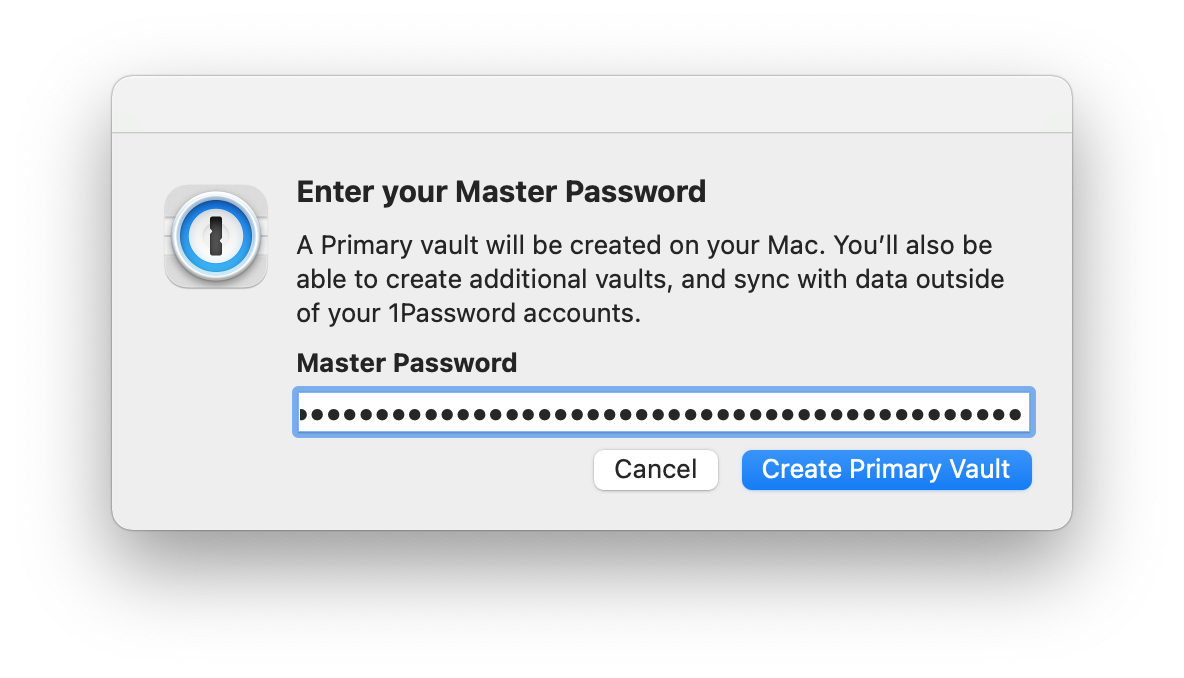
- 1Password will ask you for the master password. Enter it and click
Create Primary Vault:
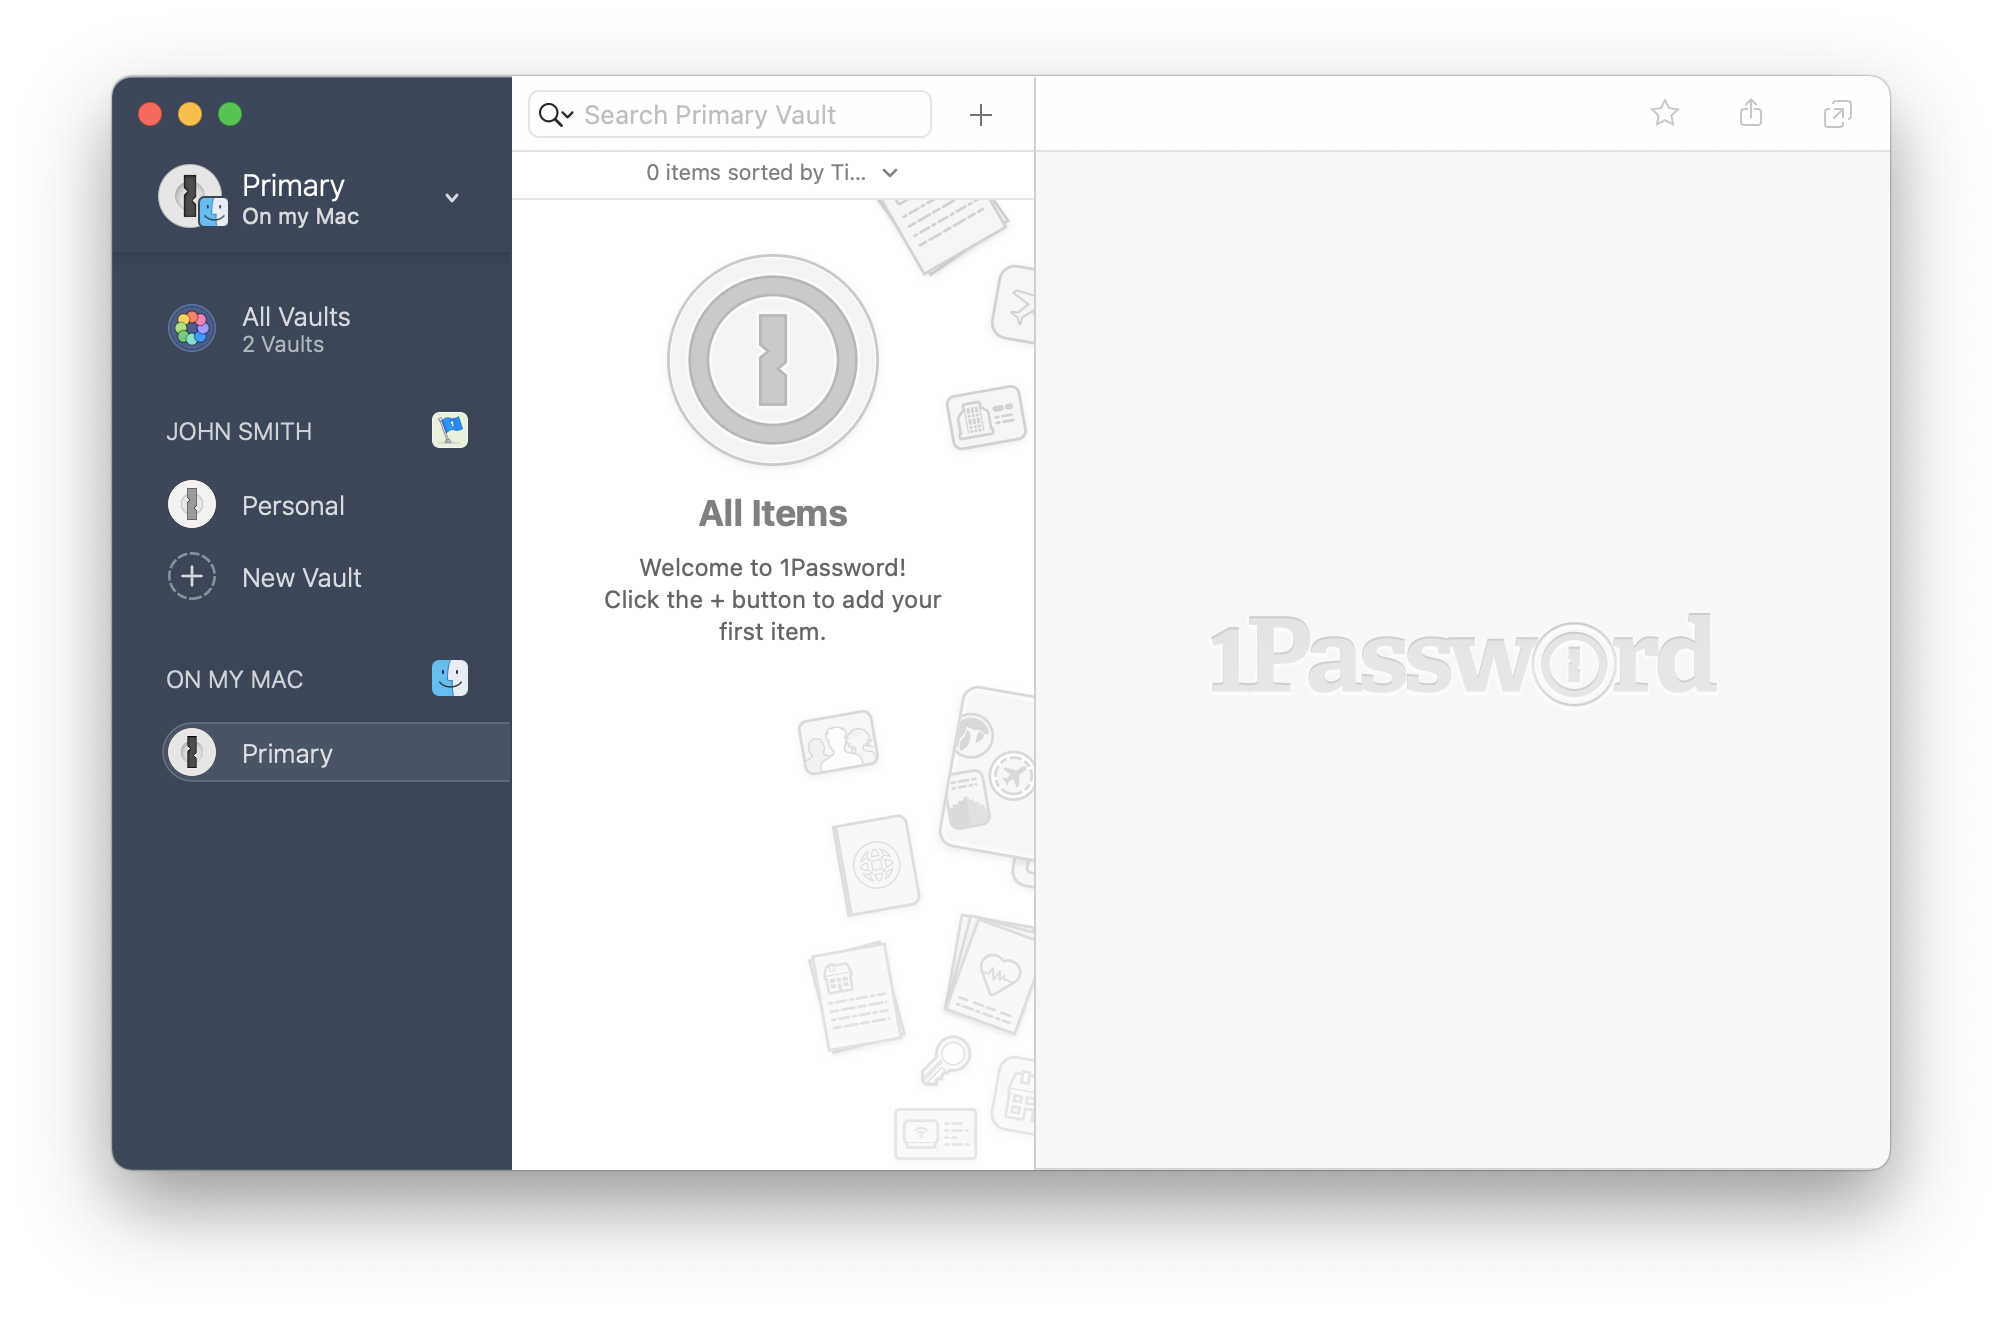
- Now, you have a local
Primaryvault in addition to the online one.
-
Select all the items in your online vault, then drag-and-drop them to the
Primaryvault.- If some items contain references to other items, 1Password will warn you that these references will be lost. Click
Copy Anyway. 1Password will warn you if some items cannot be transferred. - Unfortunatly, 1Password won’t copy attached files and custom icons.
- If some items contain references to other items, 1Password will warn you that these references will be lost. Click
- Now, let’s save your vault where you can find it
- Open 1Password Preferences and go to the
Synctab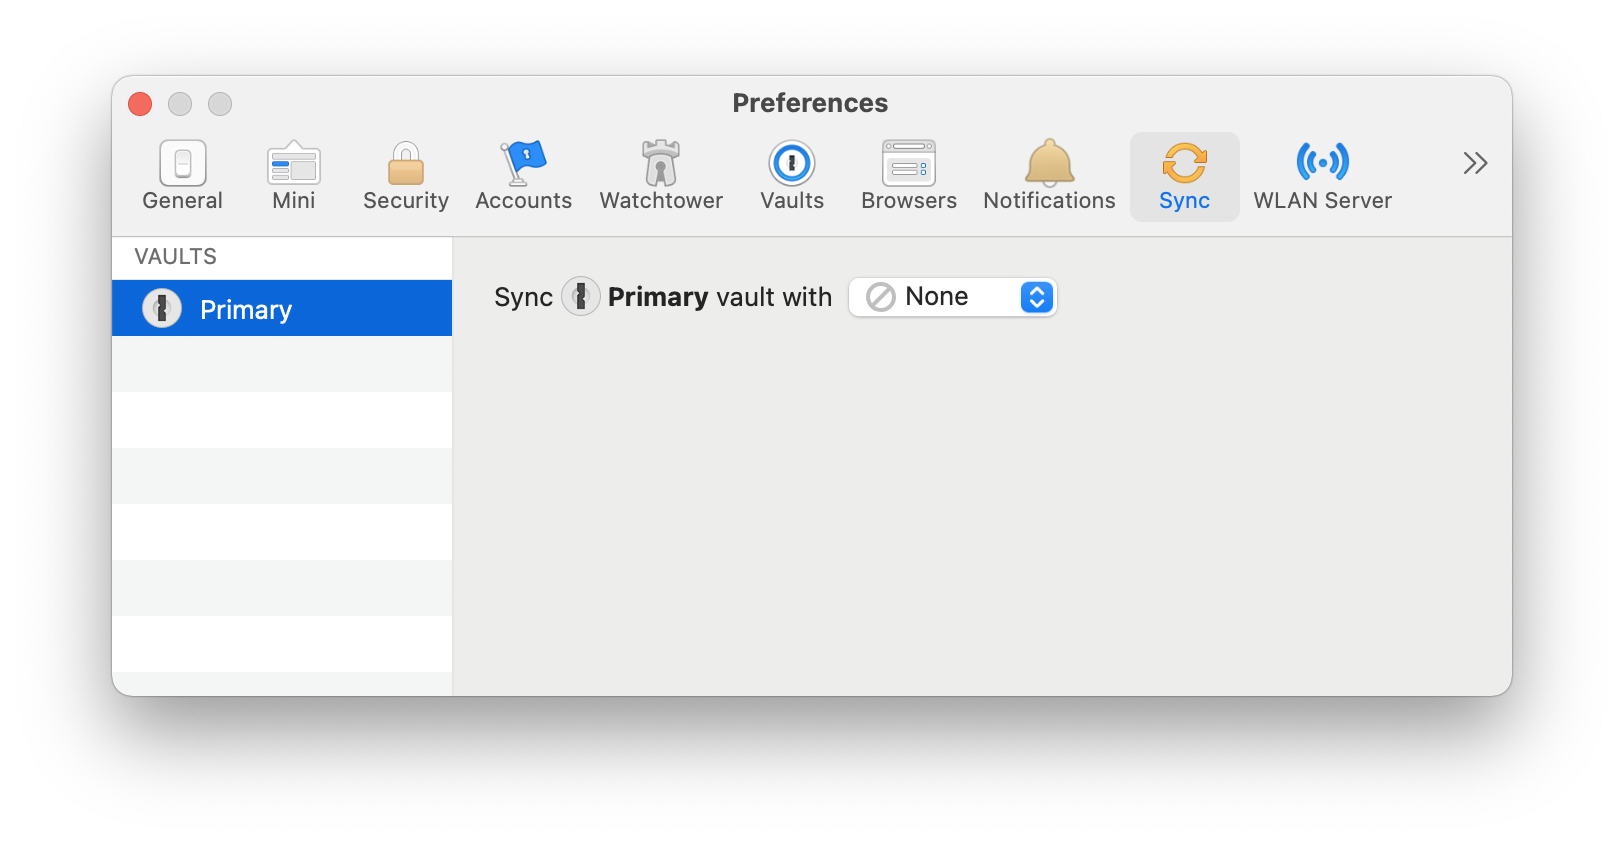
Step 6: Sync preferences in 1Password - Select
Primaryvault and chooseSync Primary vault with: Folder - Select a folder, for example,
Documentsand clickCreate New. Your local vault will be saved in the selected folder: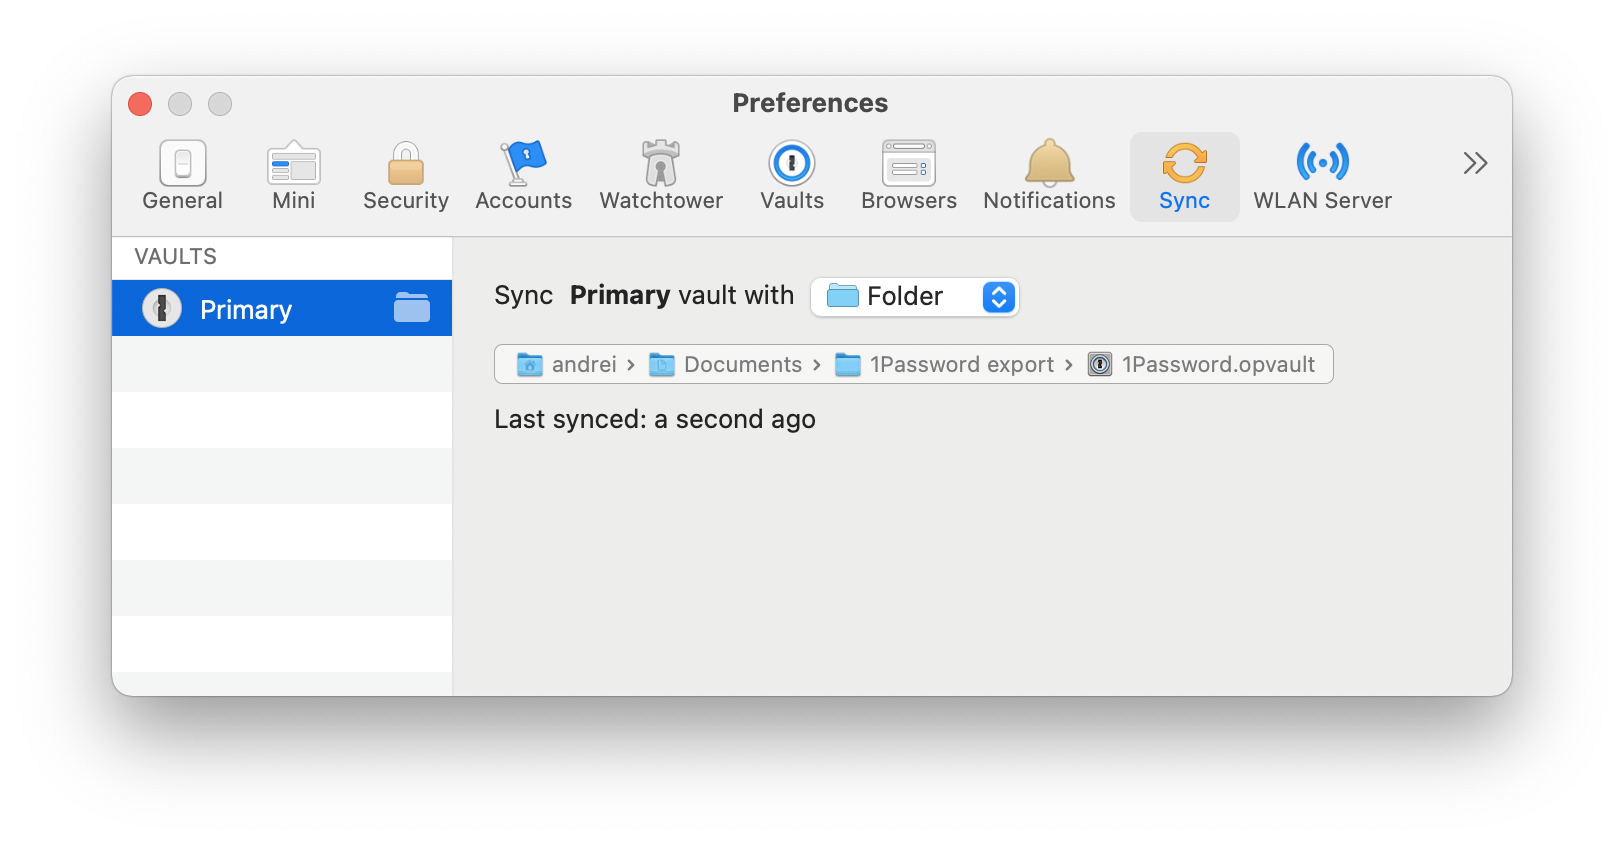
Step 7: Local vault saved to a folder
- Open 1Password Preferences and go to the
As a result, you get a 1Password.opvault file on your hard drive.
Part 2. Import your 1Password vault to KeePassXC
-
Download KeePassXC and launch it
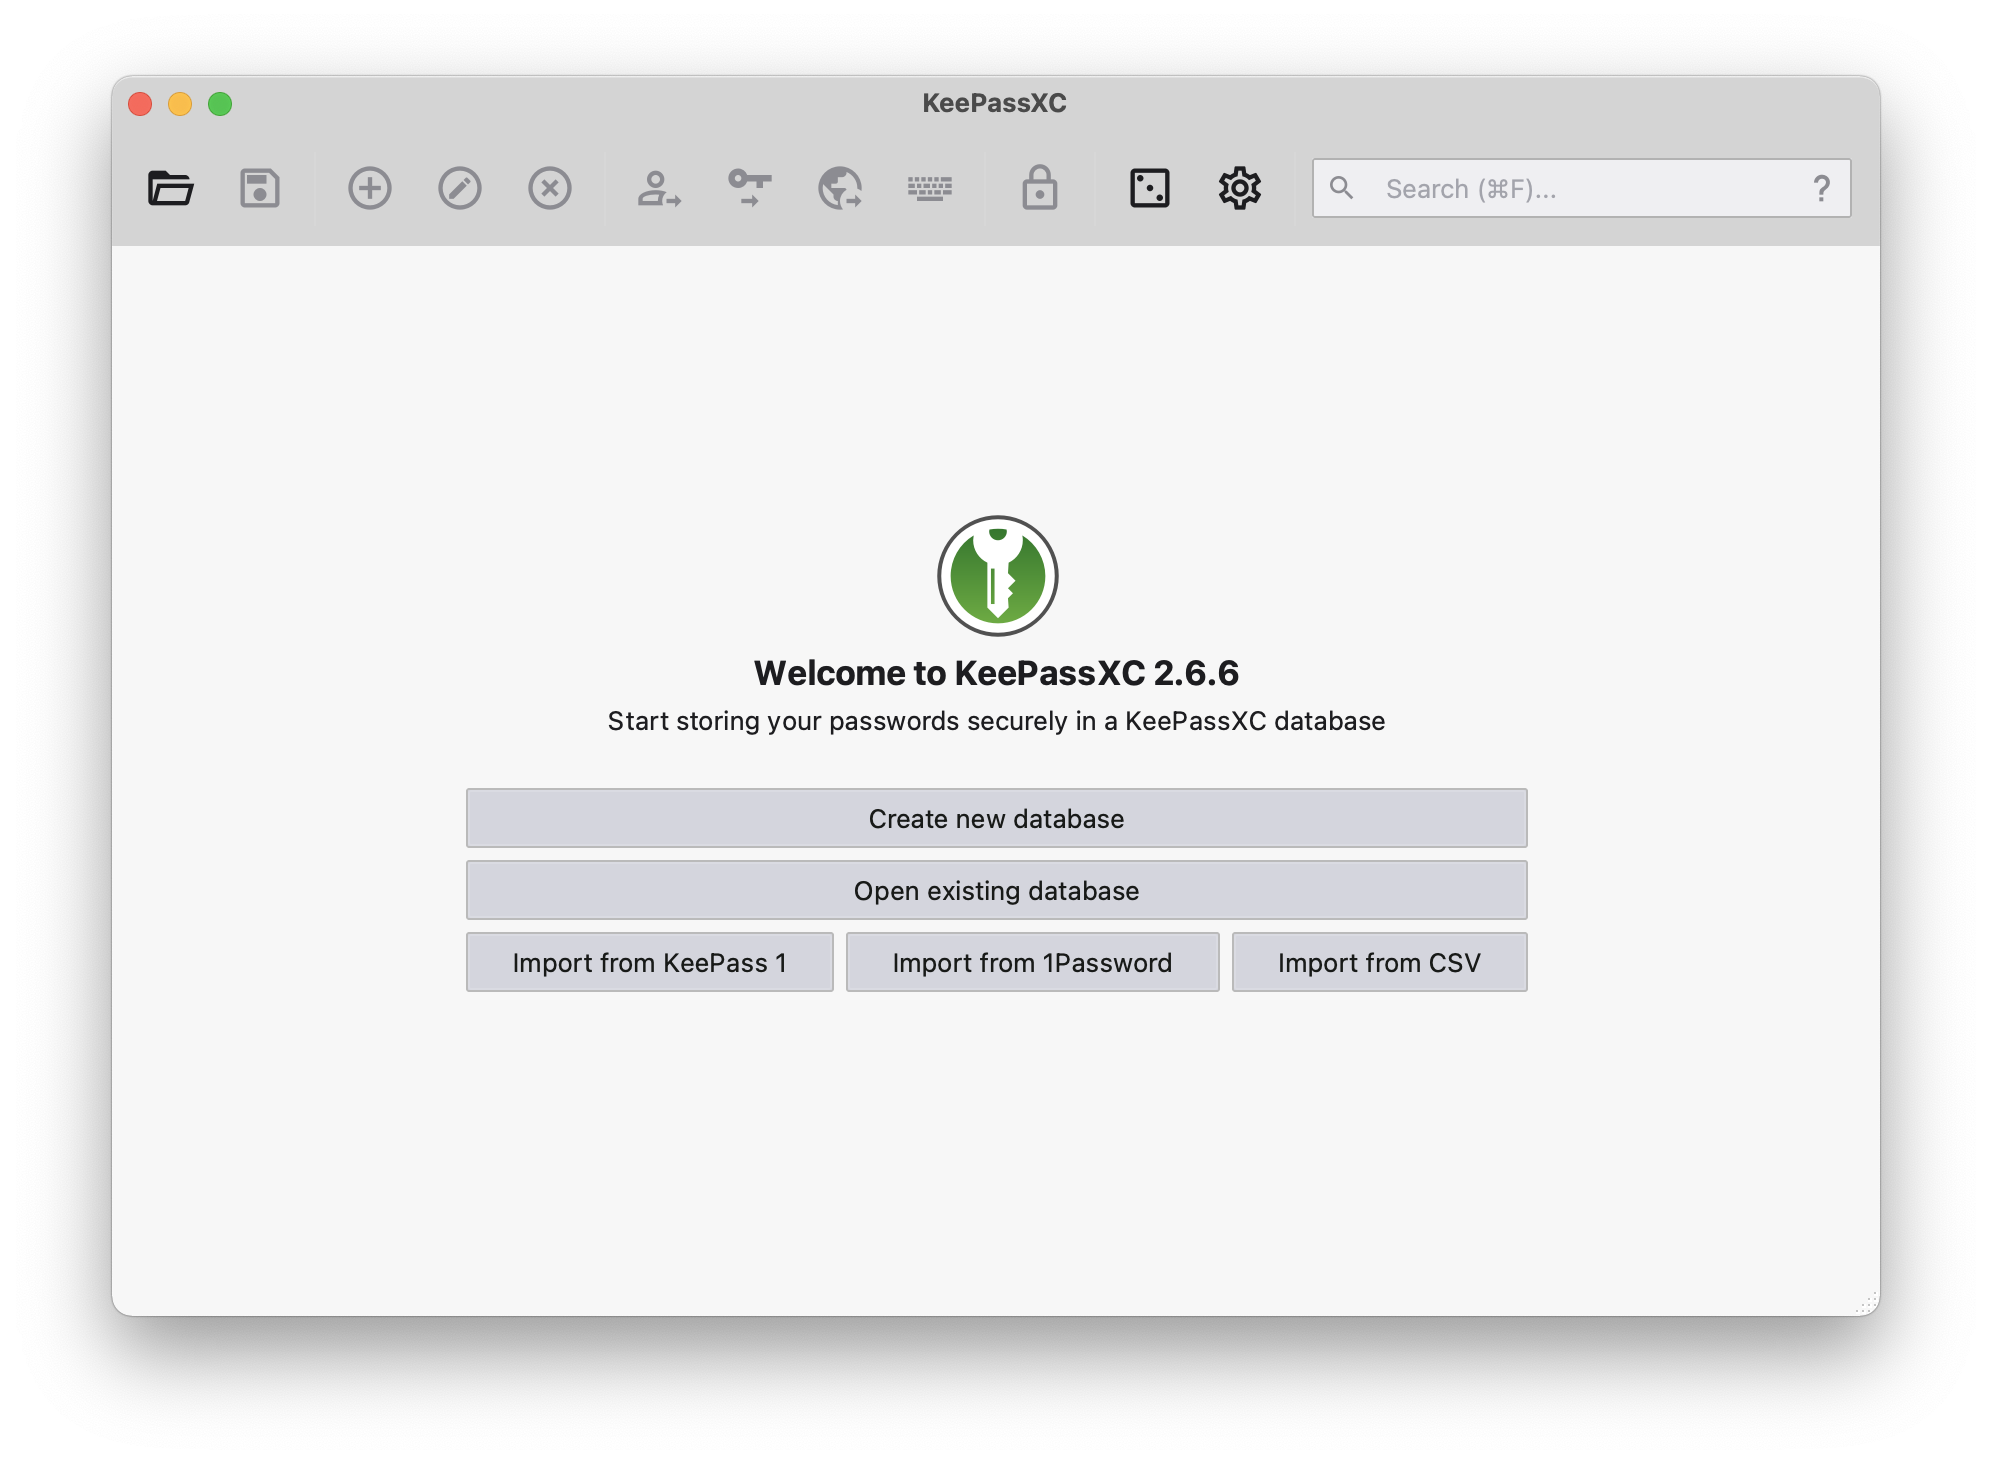
Step 8: KeePassXC interface -
Click
Import from 1Passwordand select your local vault in the previous step. KeePassXC will ask you for the vault’s password.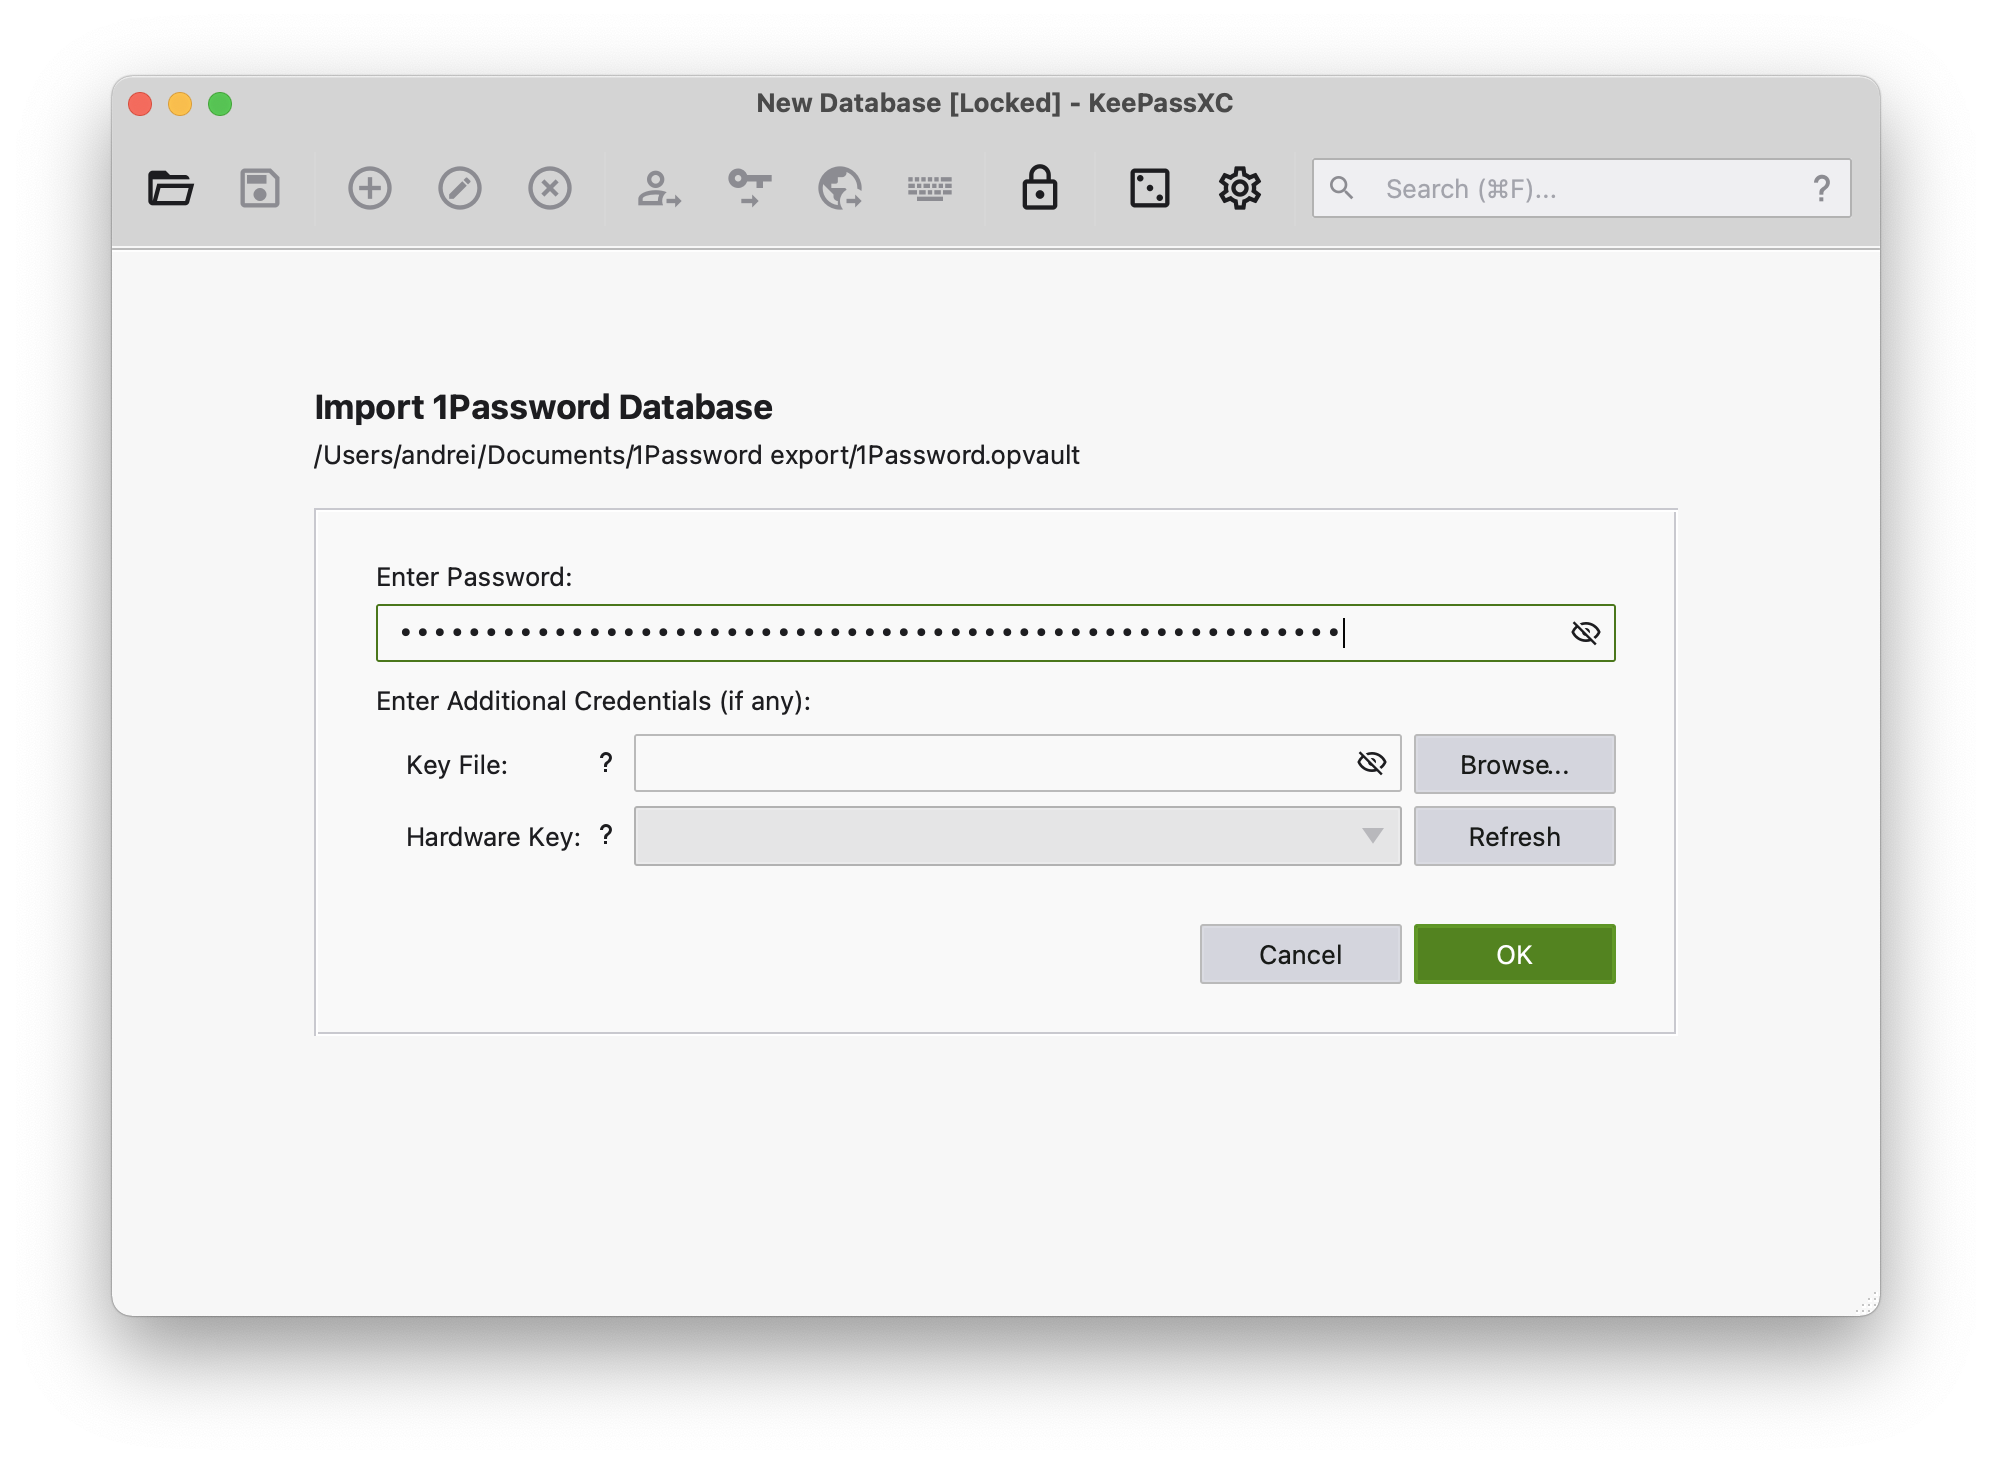
Step 9: KeePassXC interface -
Enter your 1Password master password. KeePassXC will decrypt your vault and propose to save it as
Passwords.kdbx
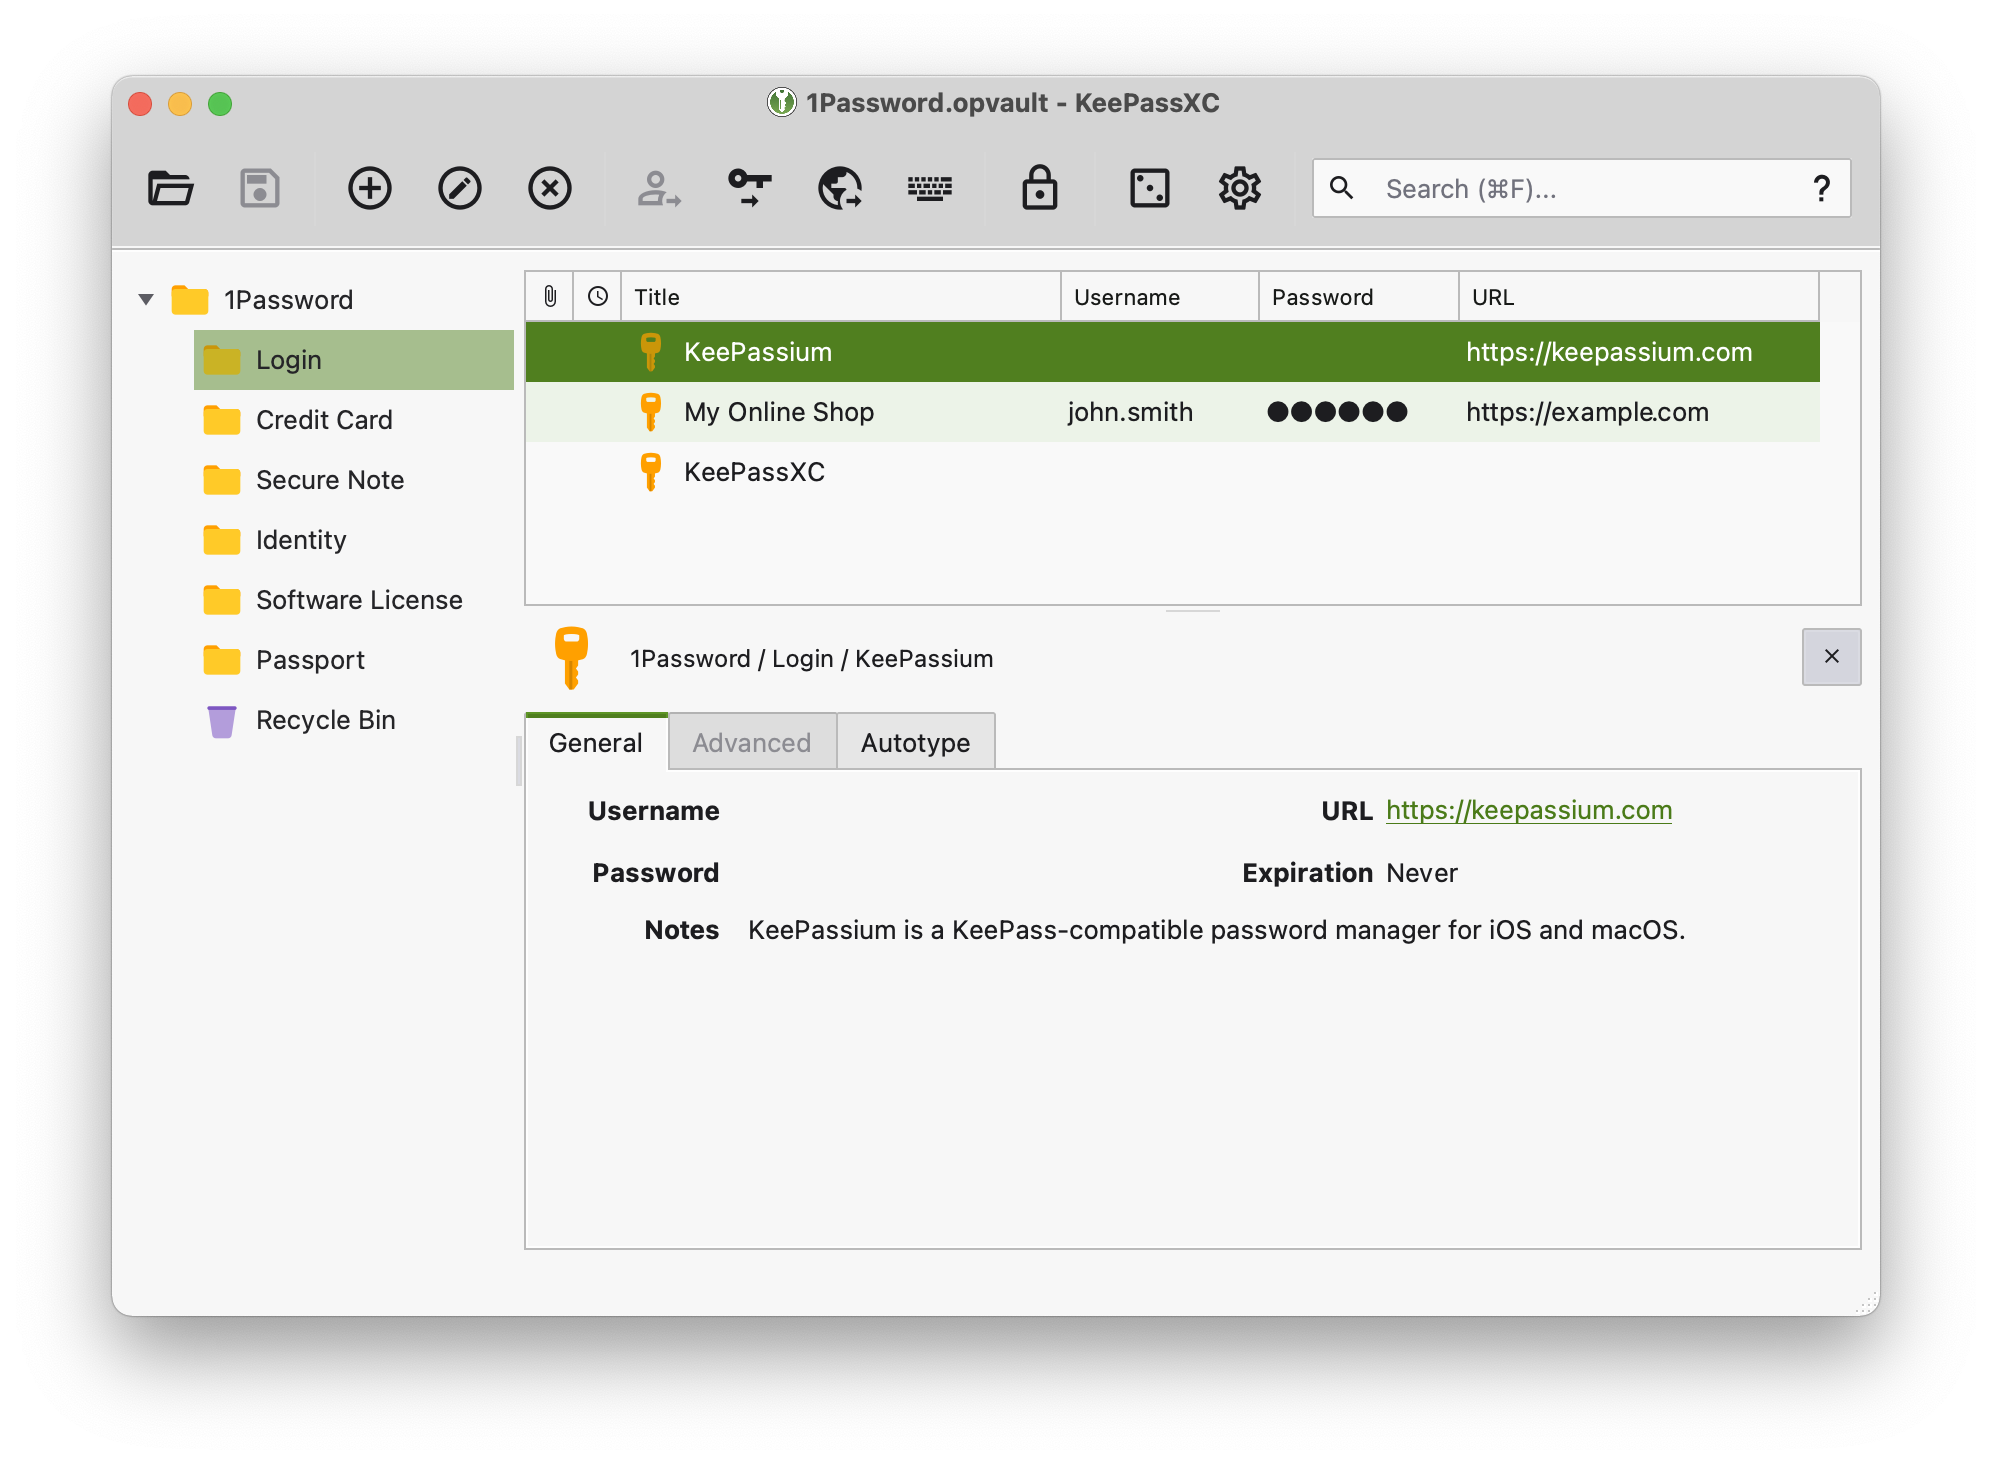
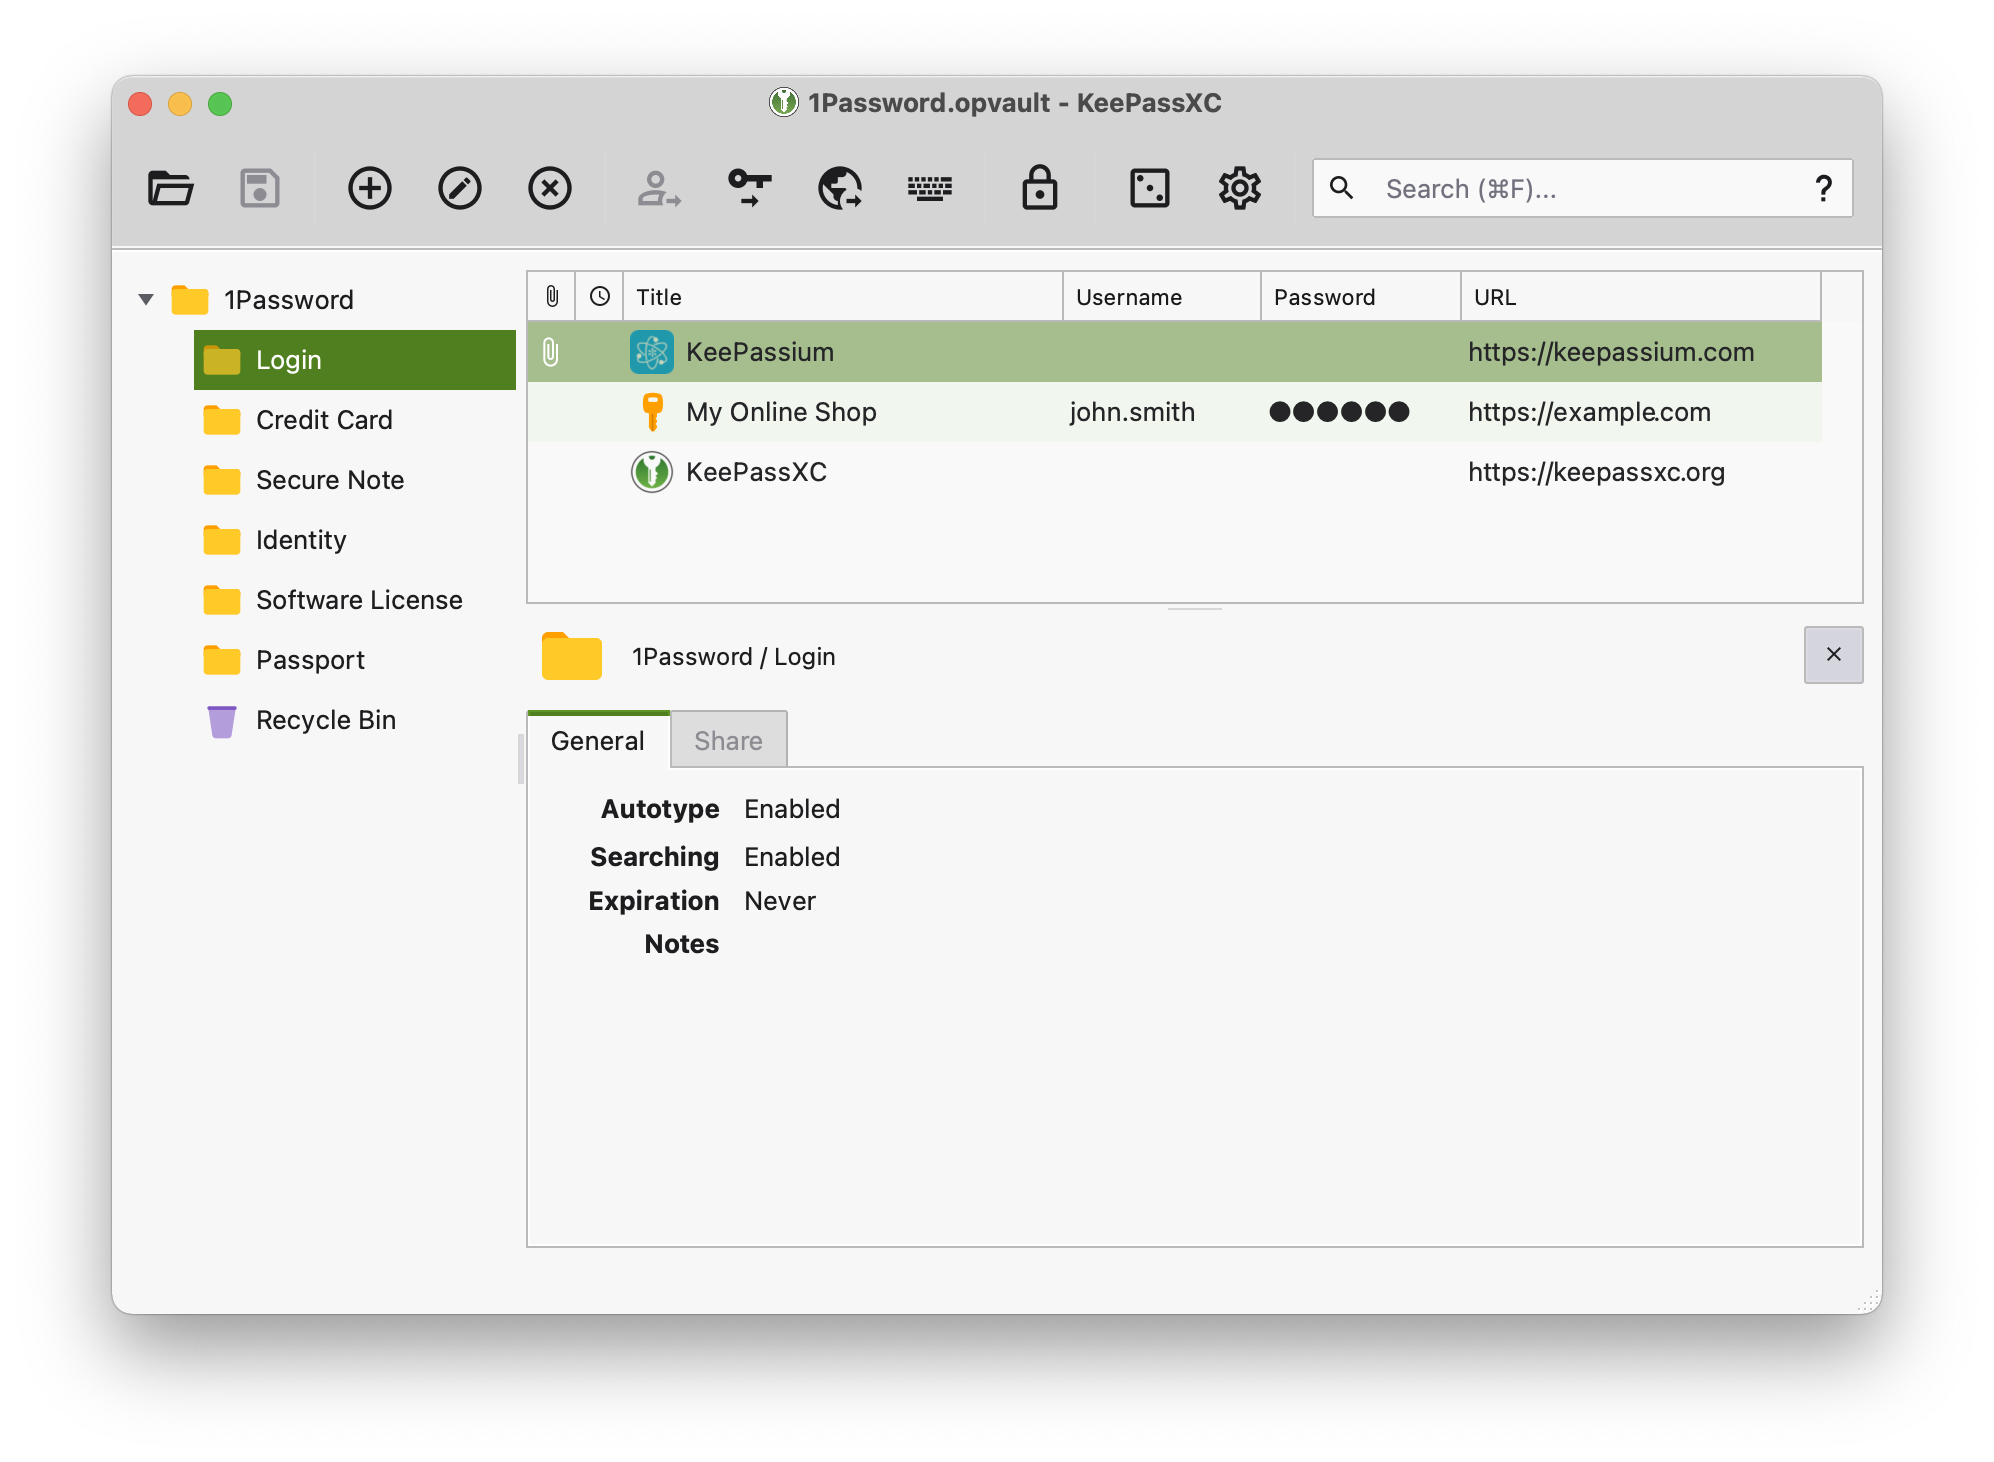
That’s it! Here’s your 1Password vault converted into a KeePass database.
Part 3. Caveats and finishing touches
Attached files
If you store any files/documents in your online vault, unfortunately 1Password won’t transfer them to the local vault. As a workaround, you will need to transfer these files manually. (If you keep your files in a local vault, you can skip this section.)
- Extract attached files from 1Password
- In 1Password, open an item with “Related items”.
- Click the file you want to transfer.
- Click
Download and View Document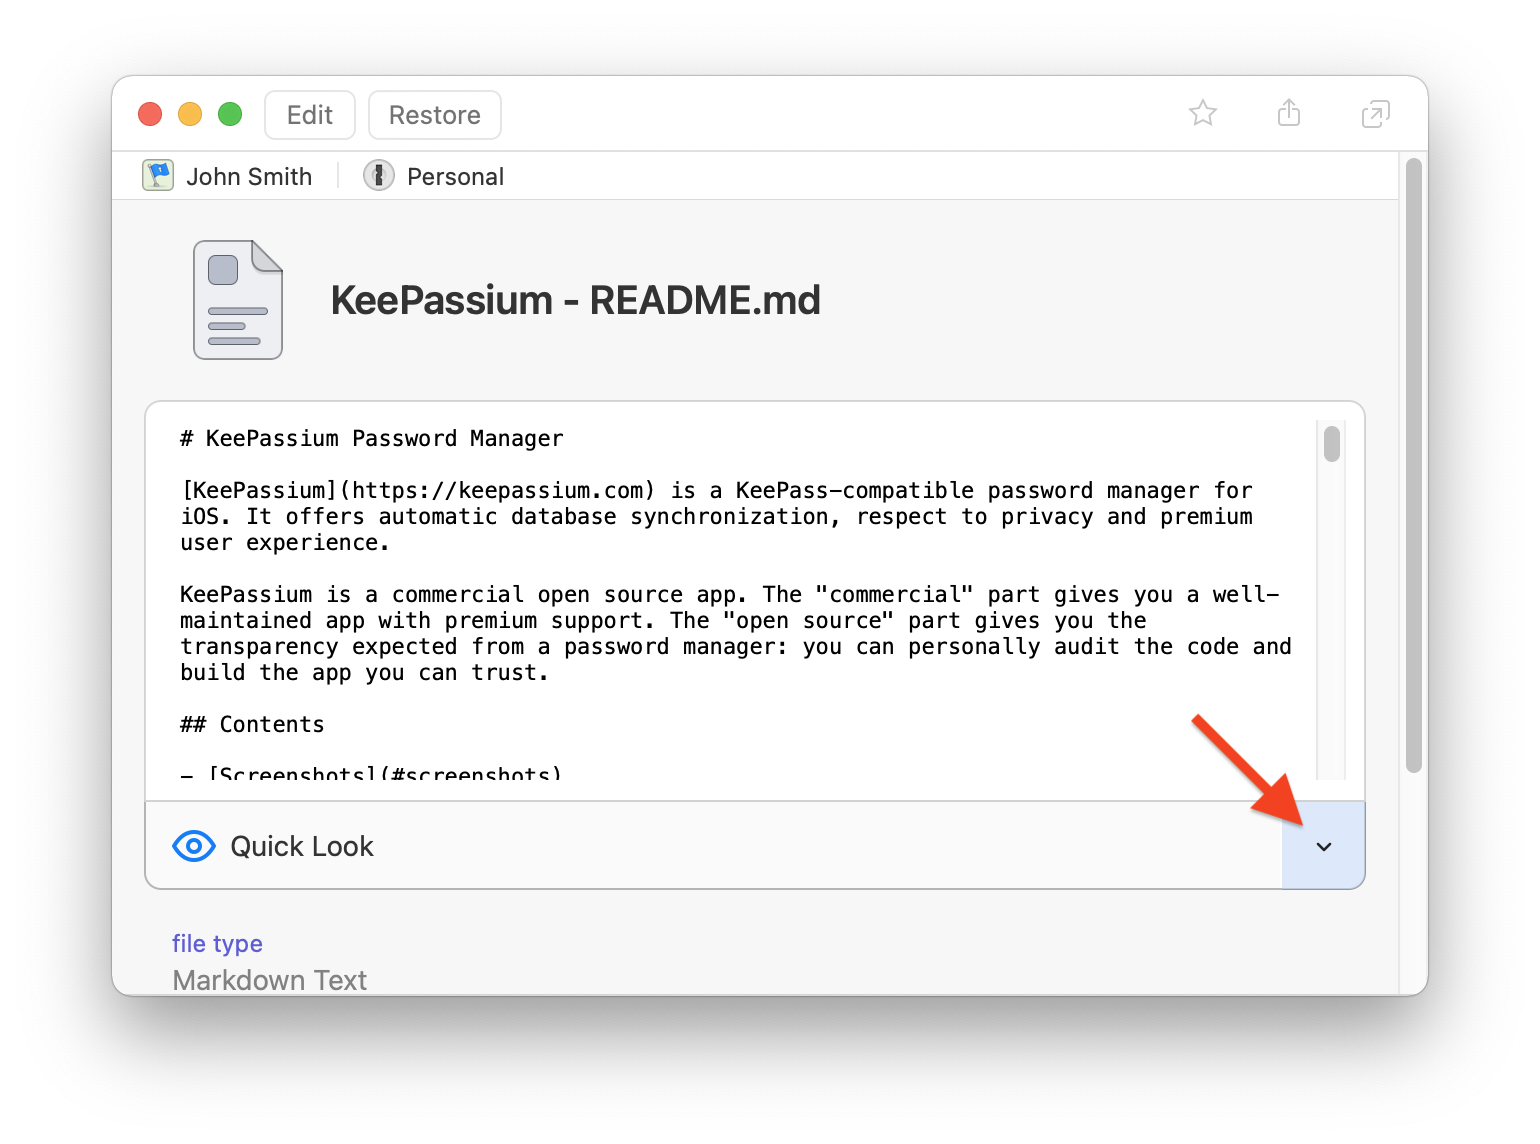
Extract file from 1Password - Click the arrow next to
Quick Previewand selectShow in Finder(or similar on non-Mac computer) - 1Password will save the file on your hard drive.
- Import the file to KeePassXC
- Find the entry where you want to add the file
- Double-click the entry to edit it
- Click
Advancedin the sidebar - Drag and drop the file to
Attachmentspanel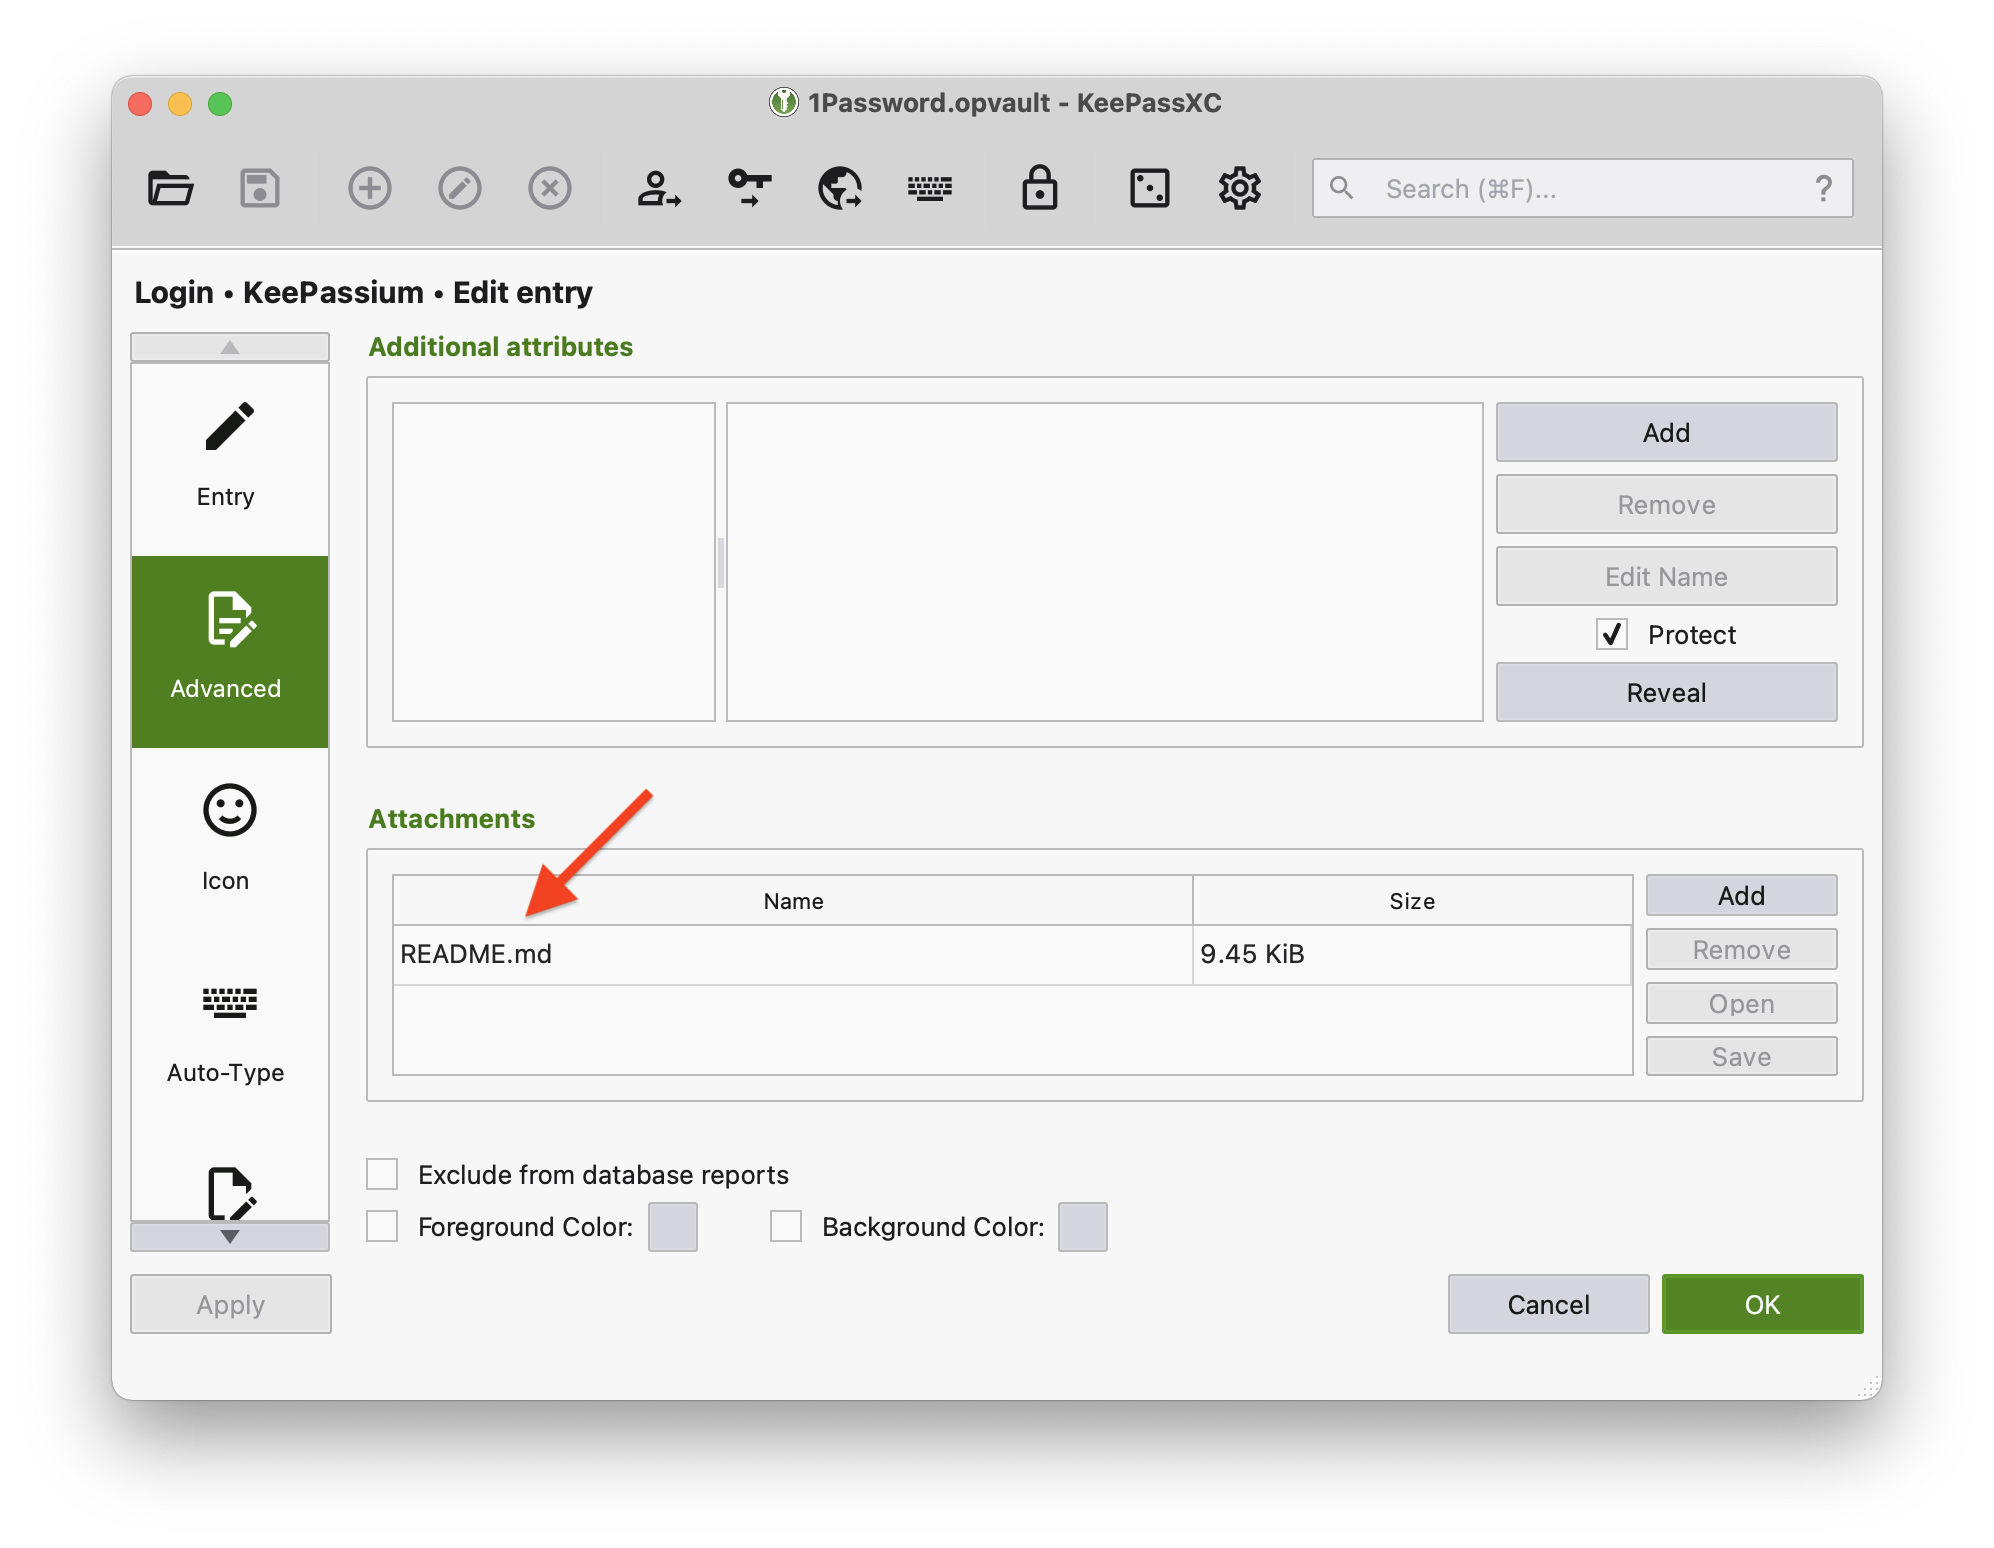
Attach file to KeePassXC database
- Repeat this for every file you need to transfer.
- Delete temporary files from your hard drive.
Website icons
Another type of data lost in conversion are custom icons. The good news is that you can restore icons for entries that have a URL field. Open KeePassXC menu Groups → Download All Favicons.... The application will contact every website mentioned in your database and, if possible, download their icons.
Hardware key (YubiKey)
If you used a YubiKey to access your 1Password vault, you can use YubiKey to protect your KeePass database as well.
What’s next
- Store your database either locally or in your preferred cloud
- Backup your database regularly. You own your data, so backing it up is your responsibility.
- KeePassium makes automatic backups whenever possible, but they are stored on the same device.
- Download apps for your devices
- Windows: KeePassXC or KeePass
- macOS: MacPass or KeePassXC
- Linux: KeePassXC
- iOS: KeePassium or one of the other apps
- Android: Keepass2Android, KeePassDX, KeePassDroid
Last Updated: 2021-10-09